It is important to manage your data securely and effectively in the digital world. Many businesses are moving to cloud platforms such as Microsoft 365. If you are moving to Office 365 or currently using it and have old or important data in PST files and are looking for a method to upload it to Office 365 mailboxes, then this post is for you. Below, we have discussed step-by-step how to import PST to Office 365.
Table of Content
Overview of PST file and Microsoft 365
PST file
A personal storage table file (PST) stores contacts, calendars, attachments, and other data elements. Once the PST file is created, the user can easily open it in all Outlook versions.
In the local system, managing multiple PST files can be a very difficult task for users; therefore, many organizations want to migrate their data to Office 365.
Office 365
Microsoft 365 is a cloud-based service consisting of productivity applications that are designed for enterprises, businesses, and individual users.
It has multiple features that help users to send and receive emails, schedule your calendar, meetings, chats, create tasks, etc.
It has a bundle of Microsoft apps, such as Excel, PowerPoint, SharePoint, OneDrive, Teams, and many more.
Need and Method to Import PST files in Exchange Online
There are many reasons why users or organizations move their data to Office 365 cloud storage. Such as
Improved Performance
If you have saved PST files in your system, it takes up your system space. Also, there may be a chance of file corruption in case of accidental shutdown or any other issue. Multiple PST files in outlook can slow down the performance. So, it is better to import PST to Office 365 for better performance and it also saves your system storage space.
Anywhere Accessibility
Outlook application is available for Mac, Windows and mobile but it requires installation. For M365 users, you just need to log in to your account from Browse and use any online Microsoft service like Outlook.
Restore Data
If you accidentally deleted your PST file data, then you will hardly be able to restore it. While Microsoft provides 30 days to restore file or data without any additional cost.
Method 1: Using Outlook Import/Export Tool
This is a manual method and best for those who want to export one by one file. No admin access is required to import pst to Office 365 using this method.
- Open Microsoft Outlook account, Select the file tab, then click on open&export tab> Import/Export

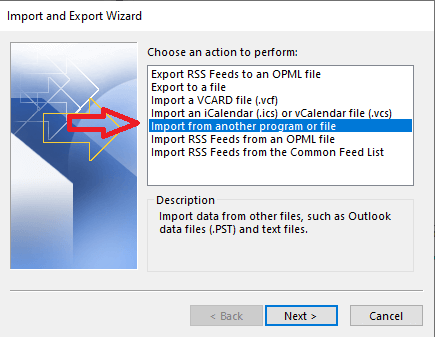
- Then, a new window will open in which you select Import from another program or file and then click the next button.
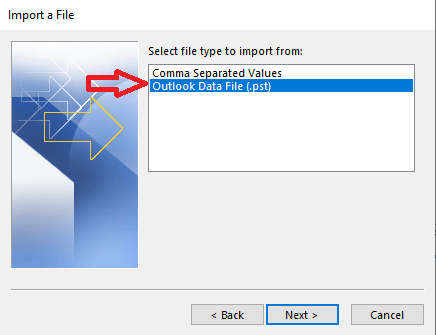
- Then click on Outlook data file(.pst) and then press the Next
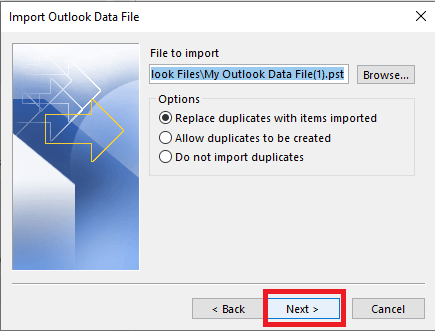
- Browse and select your PST file from your computer and select how you want to handle duplicates, then select Next.
- Replace duplicates with items imported
- Allow duplicates to be created
- Do not import duplicate
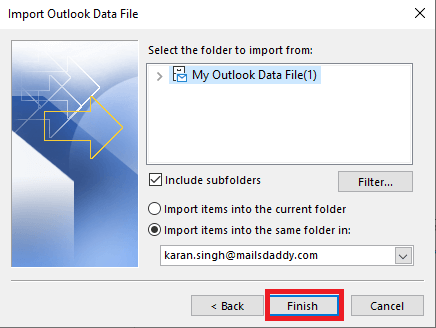
- Select the Office 365 mailbox where you want to import the PST file.
Pre-requisites for Importing PST Files to Exchange Online using Network Upload Method
Permission: You will need admin, Mailbox Import Export, and Mail recipient roles in Microsoft Office 365, which will be assigned to you by the global administrator.
File Size Limits: PST files should not be larger than 20 GB in size. Files larger than 20 GB impact the performance when we upload the PST file.
Network Bandwidth: Importing large PSTs will take time, so make sure you have a good internet connection.
Method 2: Using the Network Method for admins or large imports.
Assign Permissions in Office 365
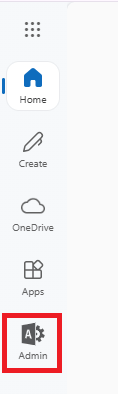
- Open Microsoft Office 365 and then select the admin
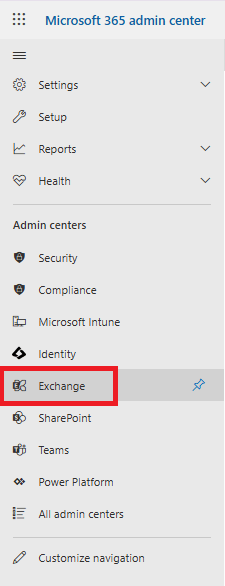
- Select on show all, then click on the exchange The Exchange admin center (which is like a control room where we manage email settings) will open.
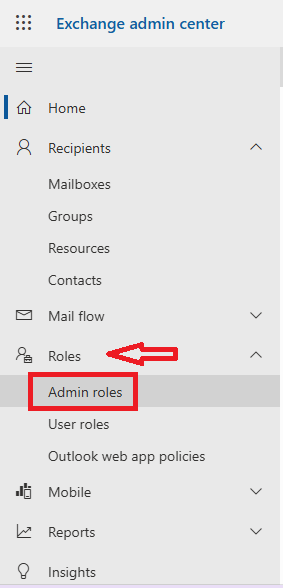
- click on the roles (assign special access to the person who will import PST to Office 365) from the left side ribbon. A drop-down will appear; then, click on the admin roles.
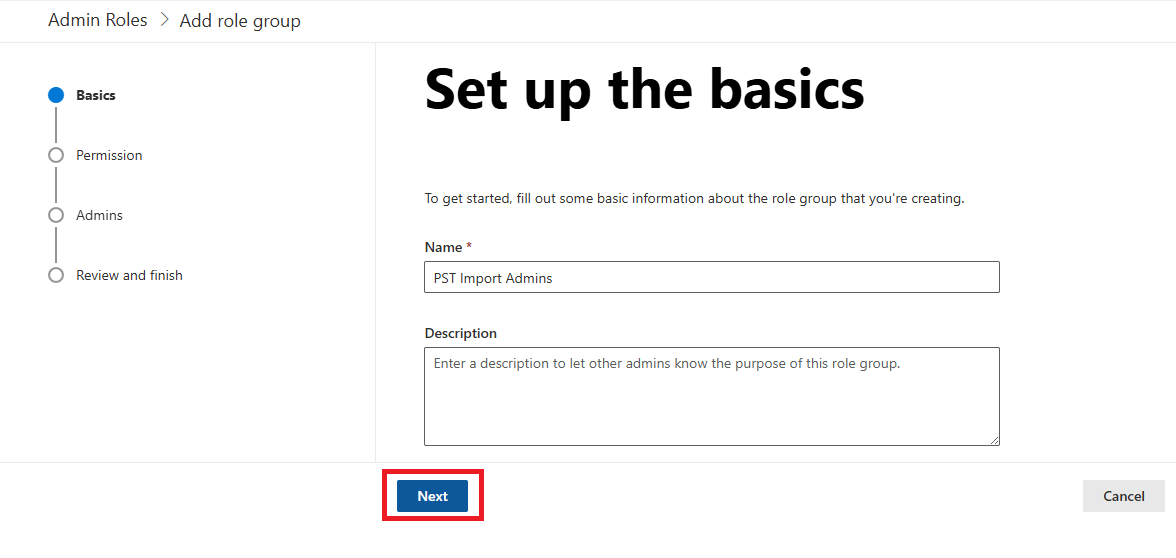
- Now type group name to create admin roles then hit the Next
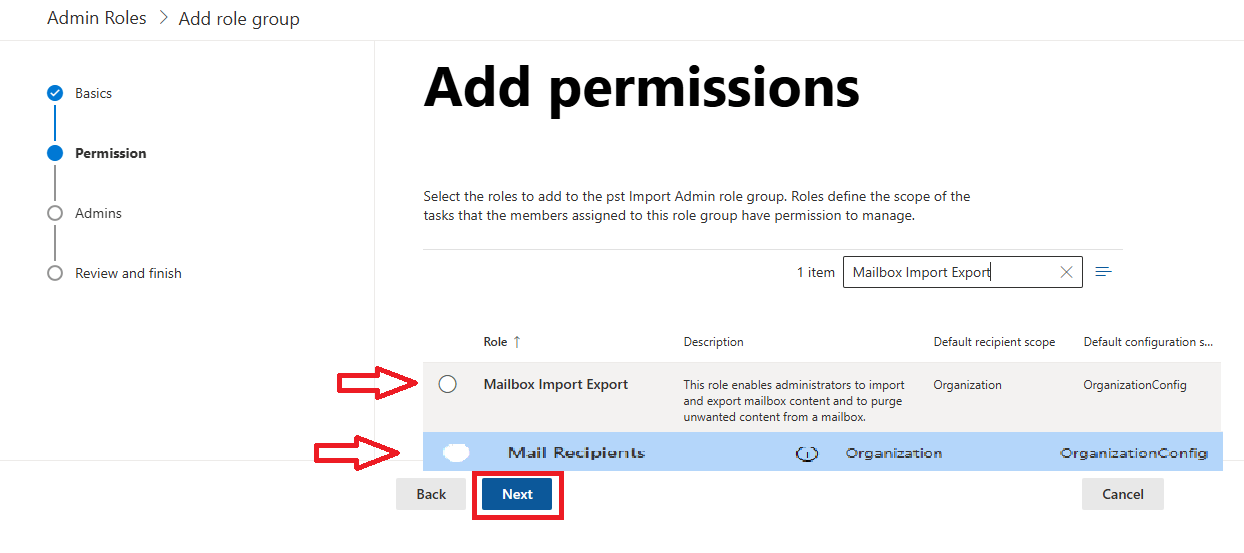
- The next step is to add the “Mailbox Import Export” and “Mail Recipients” Role (without this, Microsoft 365 will not allow us to import old emails). In the search bar, type these two roles and select it, then hit the Next button.
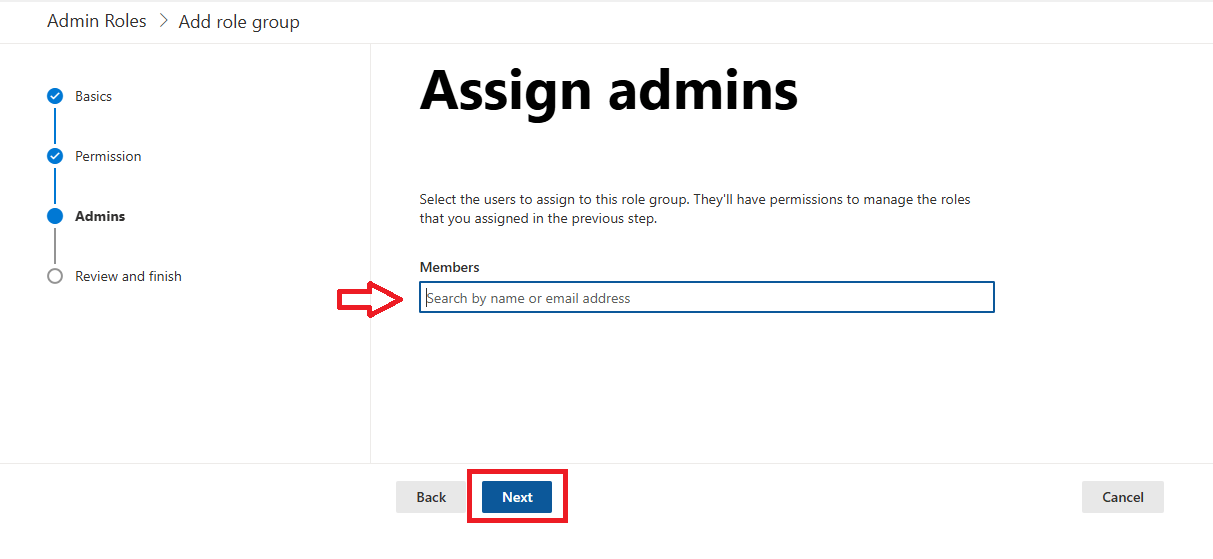
- Search for the person whom you want to give access to import the PST file. Click on Add and press Next.
Created Import Job in Microsoft 365
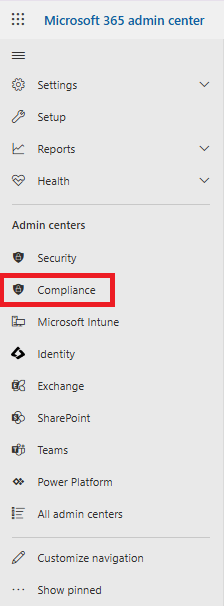
- Visit Microsoft Admin page and select on compliance.
- The Microsoft purview page will open there. Select solution>Data lifecycle Management>Import.
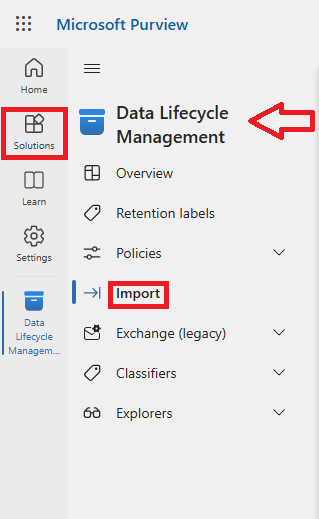
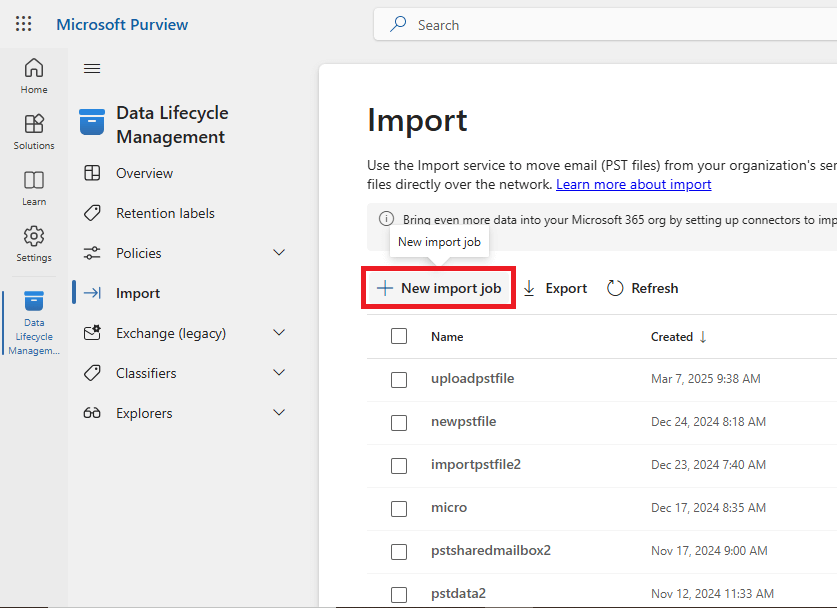
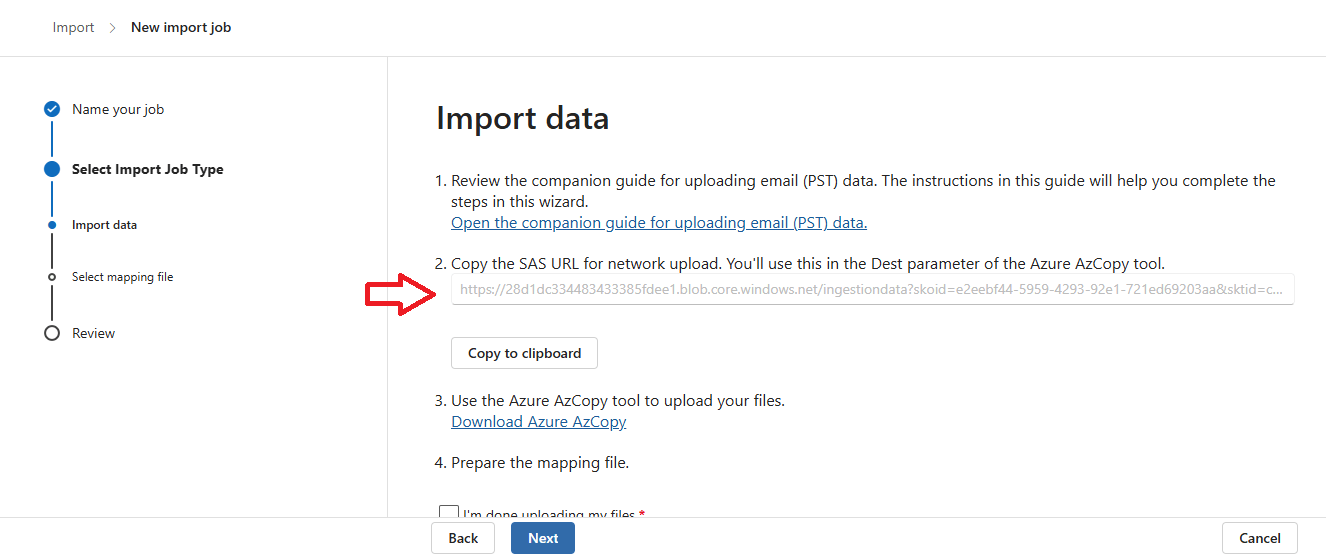
- In the Import page, select “New Import Job”.
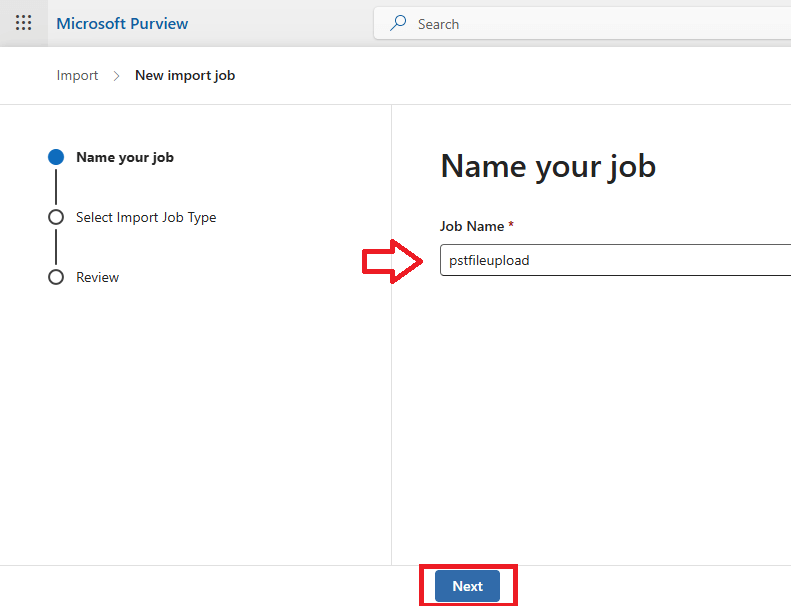
- You need to enter a name like “pstfileupload” and click on Next.
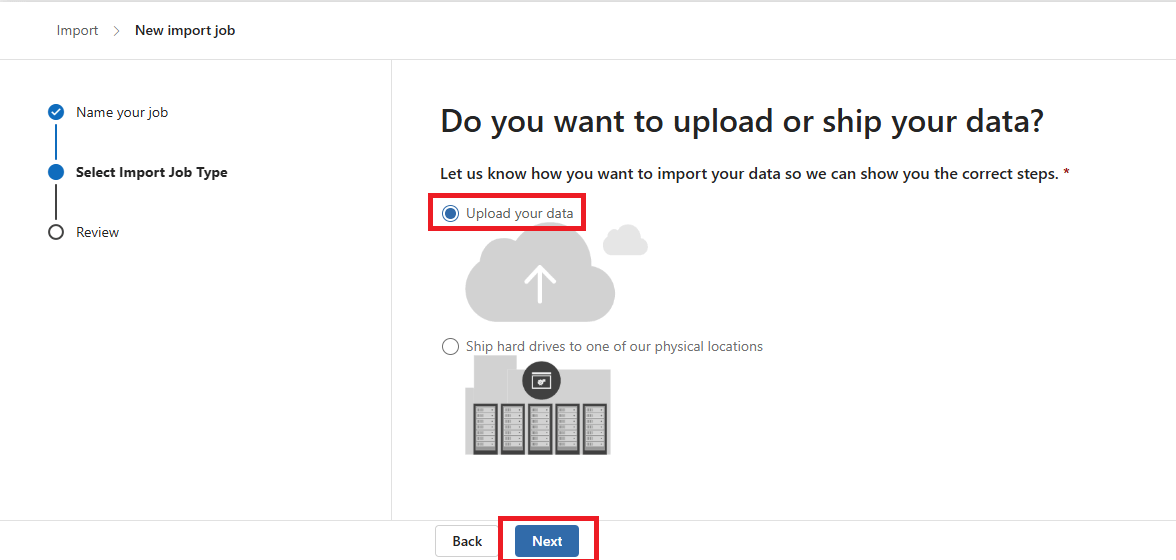
- It will ask do you want to upload or ship your data. Click on the First one and click on Next.
- Microsoft will give you an SAS URL (it is like an address of Microsoft Azure cloud storage). This URL is unique, and you should copy it to a notepad and Download Azure Azcopy, then extract it. Inside it, you will get the Azcopy tool and notice file.
Upload PST Files through Command Prompt
- Open the command prompt and run it as administrator and change the default path in the command prompt to the Azure azcopy path below there is an example.
cd <azcopy path>
![]()
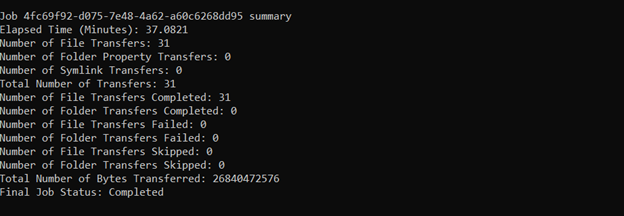
- Run this command to upload the PST files in Microsoft 365
azcopy.exe copy “<Source location of PST files>” “<SAS URL>” –recursive
![]()
- After running the command, it will start uploading the PST file, and the final message shows how many PST files were successfully uploaded.
Resume Import Process in Office 365 Compliance
- Once the file is uploaded to the Azure location, you need to create a CSV file. For this, download the CSV file from here and make sure not to change the header part. In column A, by default, the exchange is written, and it should not change.

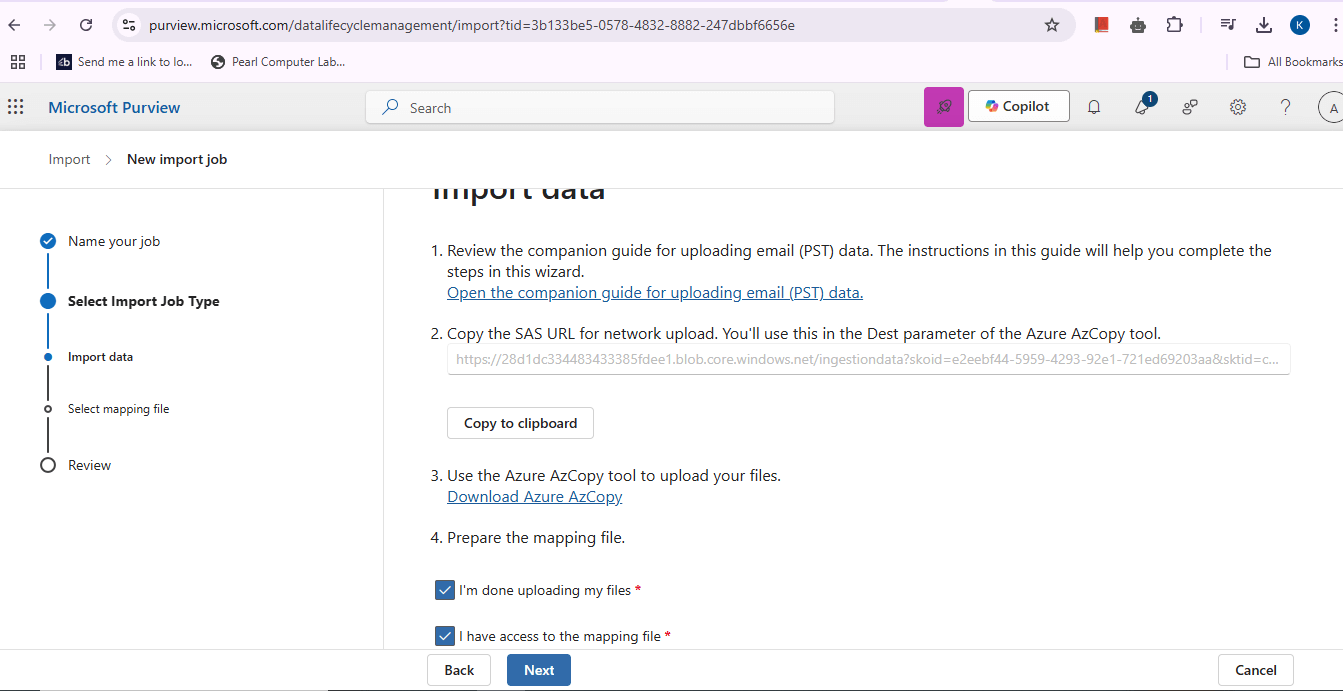
- Now, we have created a CSV file and entered all the details. Go back to PST Import data, check both the boxes, and click on the Next button.
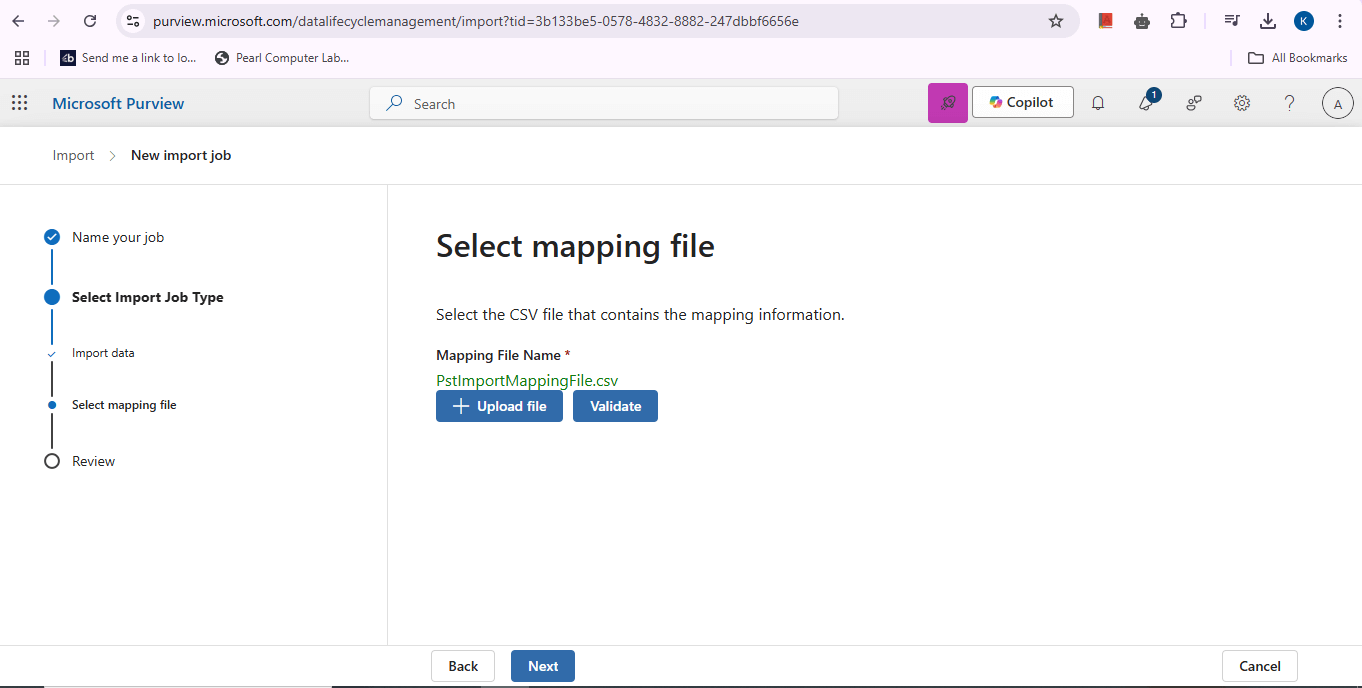
- Upload the CSV file and hit the Validate button, then finally press the Next button.
- Check on the job and click on the icon “import to Office 365.”
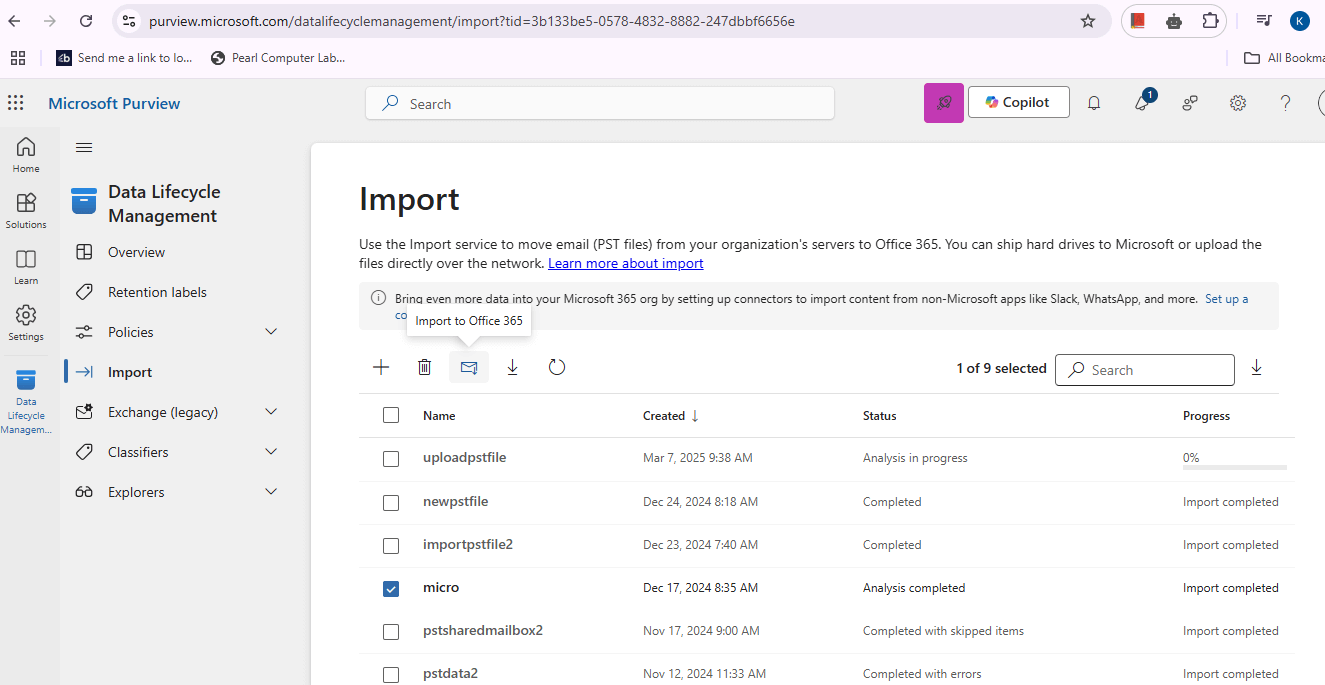
- At last, it will ask, “Do you want to filter your data” You have two options: either you want to filter before importing or want to import everything, then click NEXT.

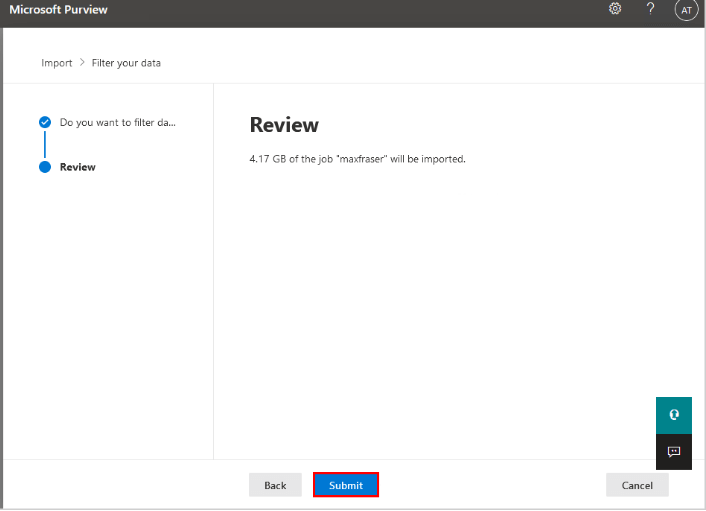
- A Review page will open and show the file size to be imported. click on the submit button.
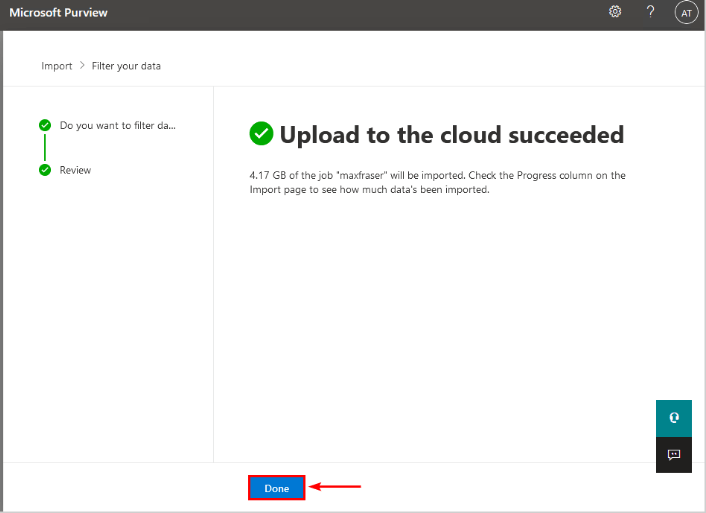
- If you have succeeded in uploading to the cloud, a success message will pop up. Then press the Done tab.
Now, it will take some time to complete the import process depending on the size of the PST files.
Conclusion
In this blog, we have learned how to import PST to Office 365. We have discussed two methods: one is the Outlook Import/export method, which is for individuals, and another is the Network method in this business, which can import bulk PST files to Office 365. You may choose any of the above-mentioned methods according to your requirements.
Did you enjoy this article? You may also like the Complete Guide for Adding a Domain in Microsoft 365, and do not forget to share this article.